






















Once, only professional athletes and physical therapists used self-myofascial release. Today, however, this popular method has transformed into a familiar everyday practice for fitness enthusiasts of all levels.
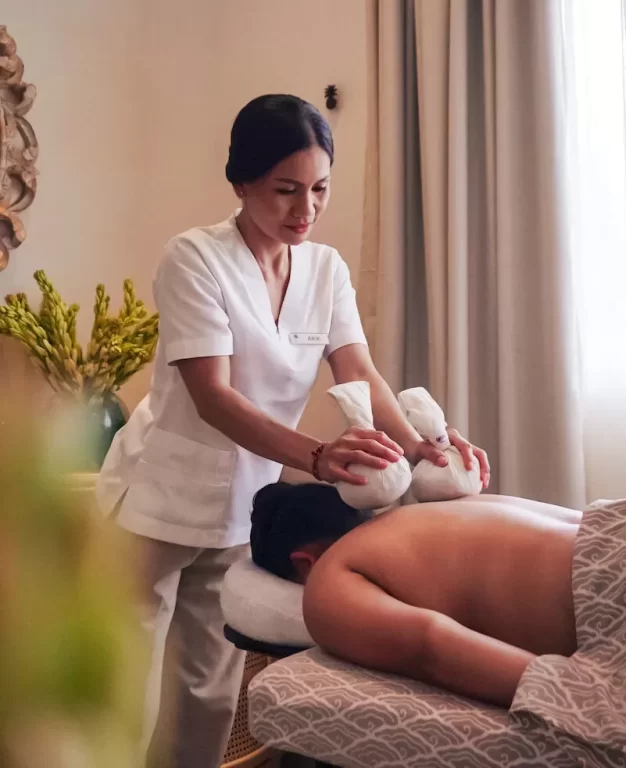
Essentially, self-myofascial release is just a fancy term for self-massage. It targets muscle tightness and painful trigger points. Furthermore, you can perform this method using a foam roller, a tennis ball, a Theracane, or even your own hands.
Why You Should Start Foam Rolling Today
You can easily apply this free form of massage to your daily routine. Best of all, you will feel the relaxing results almost immediately!
For example, foam rolling melts deep tension in your body. Consequently, you will feel incredibly relaxed and relieved after a long day at your desk or on the sports field.
In addition, this simple five-minute practice fits perfectly into any busy schedule. For instance, you can easily roll out your muscles while watching television. By applying targeted pressure, you actively aid your muscle recovery. Therefore, you quickly return your muscles to a state where they are elastic, healthy, and ready to perform at a moment’s notice.
The 4 Most Important Areas to Roll Out
There are many ways to release physical stress. However, we recommend focusing on these four key areas first. These large muscle groups work hard to support you every day. Consequently, they tend to carry the most unconscious stress.
1. Quads
The front of our upper thighs can to be rolled out applying evenly weighted pressure from the tops of our knees to our hip flexor. The slower the rolling out occurs, the more effective. Make sure you hold your body position with your forearms on the ground. 1 – 2 minutes of slow rolls with slow breaths will do the job!
2. IT BAND ( sides of upper thigh)
The sides of our upper thighs hold a lot of emotional tension. Through the slow execution of the rolls, some people may feel pockets of tension. Make sure you go through these areas slowly. Sometimes, you can hold the foam roller on a specific point. Make sure you are not at 100% intensity! Work through the knots slowly. 1 minute each side will do.
3. Back
The back holds a lot of tension from sitting at the computer and driving. Slow rolls all the way up to your shoulder blades will decrease tension throughout your whole back and shoulders. Make sure that your spine is slightly curved when rolling out this area. 30 seconds to 1 minute will do.
4. Lats
For the Lats ( Foam roller is placed under the sides of your armpits) it is best to roll front to back instead of up and down your body. Make sure to relax your neck and jaw while you roll out this area. Each side can be rolled out for 1 minute. This will release emotional tension and shoulder pain.
Thank you to the fantastic fitness team at THE ART OF BODY who we partner with to provide professional personal fitness training on our Fit Goddess Retreats and for sharing this article.
